
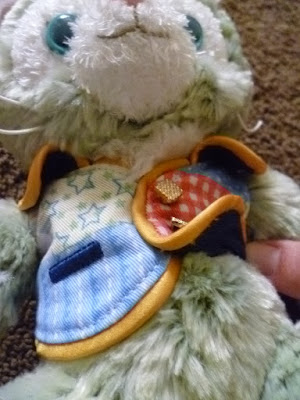
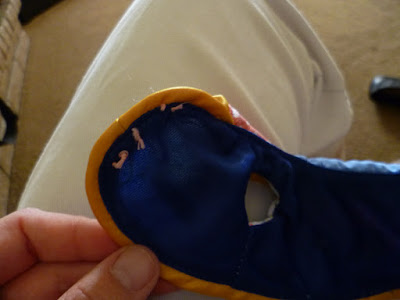
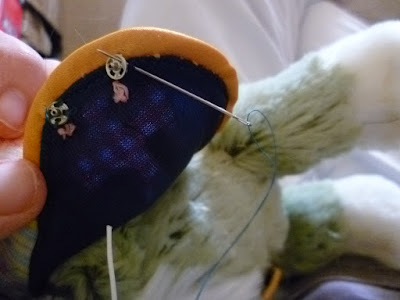
Here's what the inside of the vest looks like. Some of the stitches are to hold the vest onto Gelatoni, and others are to hold on the buttons.
I didn't have my seam ripper with me, so I had to use a scissors. I think there were just two threads to cut.
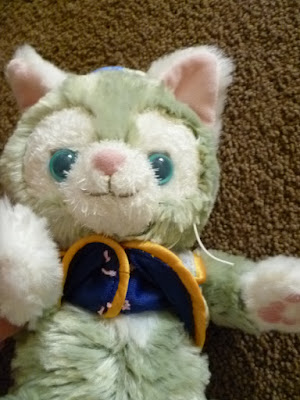
He's free!
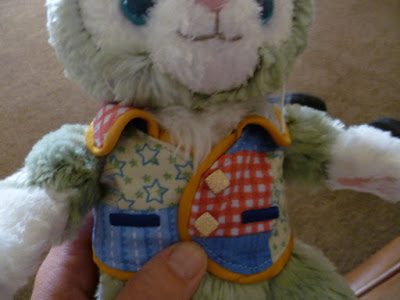
I took off the threads on the side of the vest that didn't have the buttons.
I figured out how I wanted the vest to fit on again.
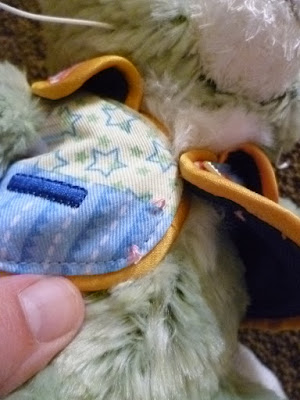
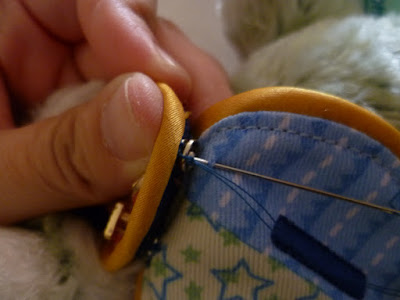
I chose blue thread for the snaps because it matches the lining. It might be better to use a pink or peachish thread like the manufacturer used, just in case you go through the lining and onto the vest when you sew the snaps in, but blue is okay. This is sewing the snap onto the button end, so you can see where the buttons are sewn in.

Then sew on the other side of the snap on the other side, making sure that the sides will match up when you close the vest.
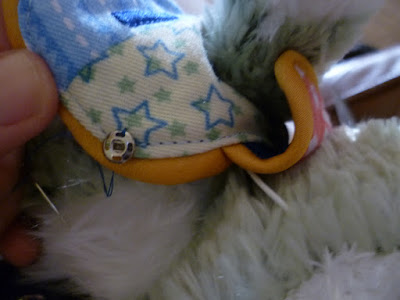
The snap is visible from the right angle, but it's OK.
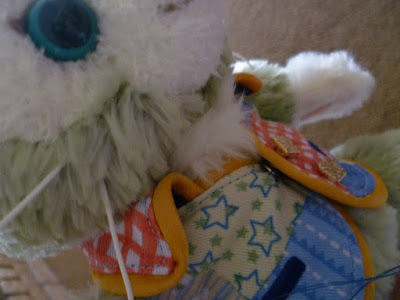
Second snap!
You have to be real careful to match the second half of the second snap in the right place. It would probably be best to mark the location of the second snap, but instead, I tied the thread around the second half of the snap...
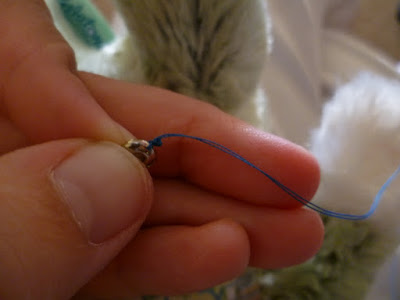
...and then snapped both snaps together and sewed a stitch in place to show me where the second piece of the second snap should be.
Then I unsnapped the snaps and sewed the second half of the second snap into place.
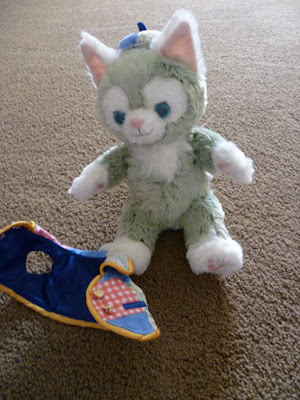
Done!
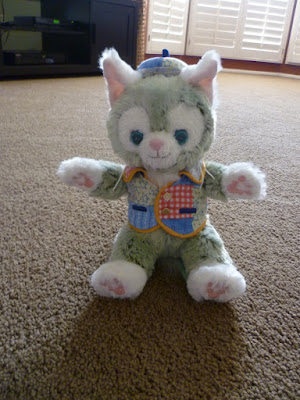
I have not removed his beret...you could surely remove and reattach it like ShellieMay's bow, but I'm now considering just making berets to go on top of this beret. If I ever make one, I'll certainly post here!
No comments:
Post a Comment